Pages

Monday 11 February 2013

Christmas Card

I think I'm spending majority of my CNY holidays at home doing cards. Ha ha... I'm enjoying it.

I just did a Christmas Card.


Dreamy C

Easter Card for J's Sis

As mentioned recently, I'm 3/4 done with the Easter Card. It's finally done this morning. I was waiting for parts of the card to dry first.

1st Page
The Teddy is done through heat embossing.

2nd Page

I'm beginning to enjoy making cards and stuff and I've been very hardworking. I'm now doing another post card for Christmas. While waiting for some parts of the post card to dry, I'm doing another Christmas card. I'm loving it! ^^

More to come. Stay tuned!!!

Dreamy C

Sunday 10 February 2013

A Postcard for J's Sis

Like me, she loves cats and J never fails to send her cards on occasions. What better way to send her one of the cards made by Dreamy C? Ha ha...


I used this stencil and spritz some color mist on the paper.
The color seeped through the paper and left some blobs of color on the reverse side of the paper.
Hence, I cut another white paper according to its size and stick it at the reverse side so J can do some writing there.

This was the stencil used at the bottom of the postcard.
Again, I did the inking method.

Frankly speaking, I like this card. Sure, it has some blobs of color on it but I think it looked just fine and I think the cats made the card looked better than it originally was. 

I did another card for her. It's a card for Easter and since it's still in the process (I'm only 3/4 done), I'll show it to you another day.

After the Easter card, I'm hoping to have some ideas in making some book marks! ^^

Dreamy C

Card for my BFF

Envelope

Stencil used for the Envelope
I did the inking method

1st page

I cut it using this design.

I used this stencil and place it on top of the card

I then spritz a mixture of color mist on it.
The thing about color mist which I dislike is that no matter how I try, no matter which direction, how far the distance, the position of the paper, I'll never fail to get big blobs on my paper. Other than this problem, I quite like the effect it has on paper.

2nd page

For the birds, I used a stencil which I do not have a photo for here.
I then took out some paste from Artist Spackle and spritz some color mist in red on it. 
Since the paste is in white, the result I get is pink.
I then use the spatula and spread the paste over the stencil.
Next time, I intend to add some glitter and see how the effect is like.


I then use some zips and zots in size medium and stick ribbon around it as a border.

My 2nd card this far.

Dreamy C

Saturday 9 February 2013

Stuff Used for 2013 CNY Card

Envelope - Easily Done!

Stencil Used
Placed this stencil on top of the envelope.

Then with a make-up sponge, I dab it on one of the many ink pads I have and then I ink over the stencil.
Thereafter, I use a black marker and outline the pineapple.

First Page


These are the 2 stencils used
I do the same method as I did for the envelope.
For the words and lion, I use a variety of colors. I don't just stick to one color.

I then used one of the stickles - the glittery type, to give the body of the lion some shine.
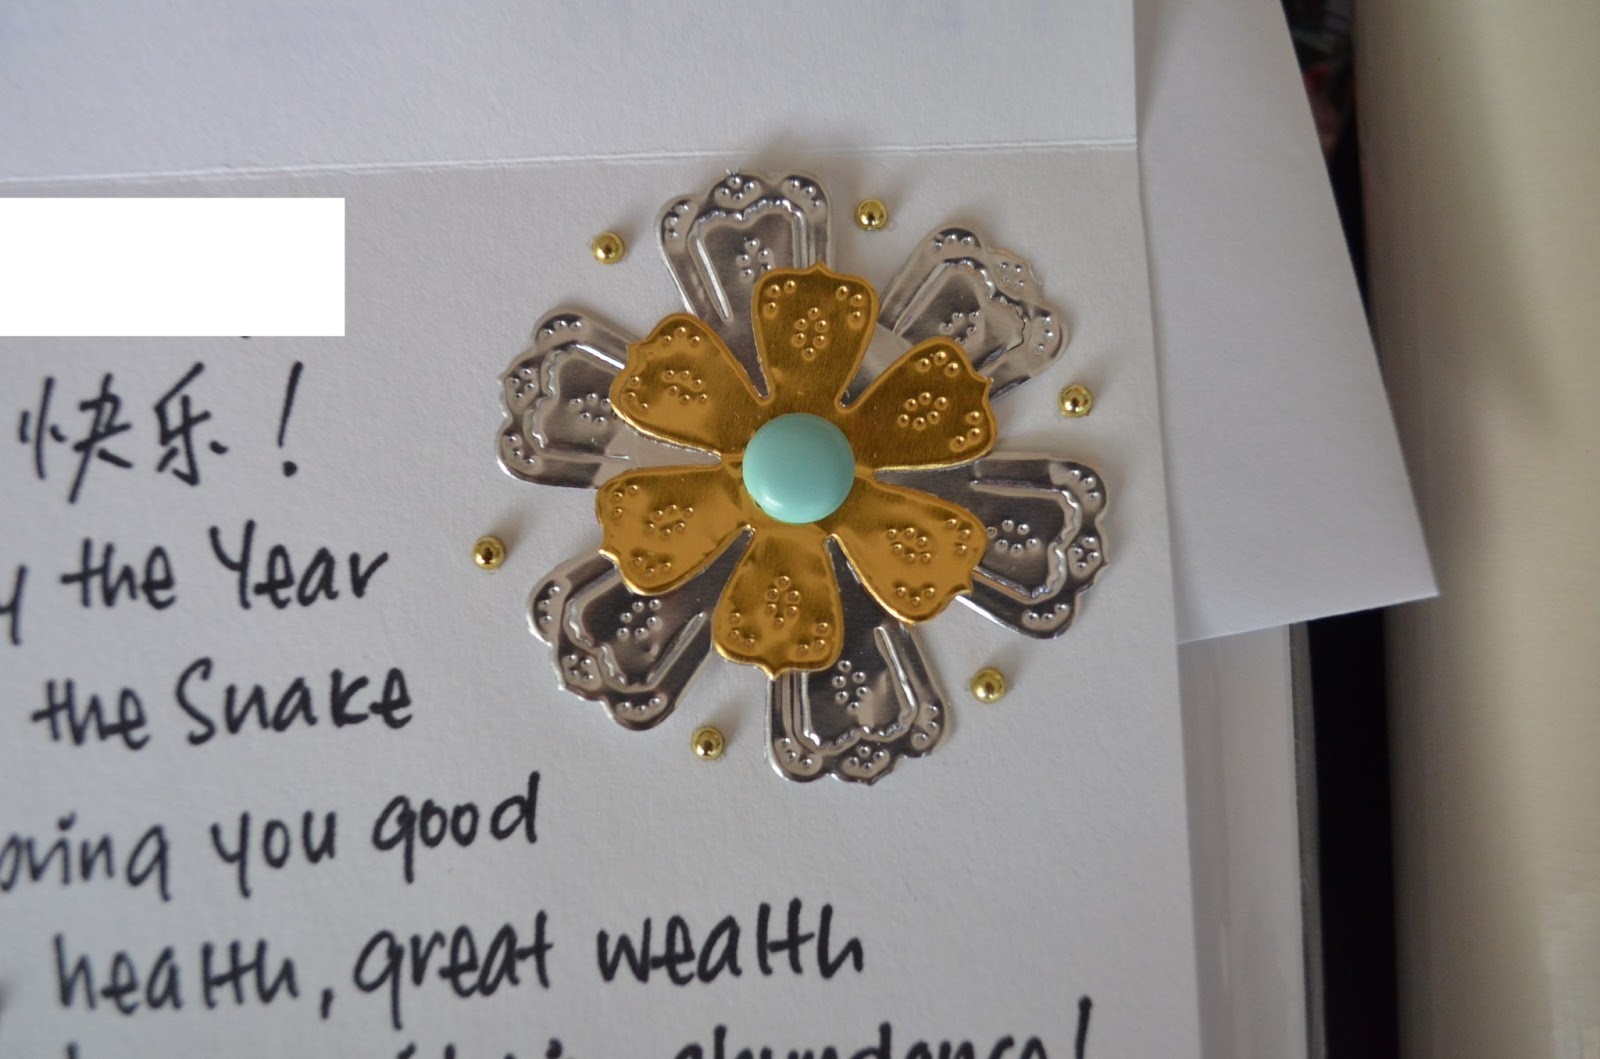
2nd Page


I used foils for the flowers.

I run these dies through my Sizzix machine.

This is the machine.

I then use this piercer to...

pierce holes into the centre of the flowers. I then use one of the brads to secure the flowers.

I then use zots in size medium to secure the flowers on the card.

I then place some gold studs around the flower.

Now, I'm going to show you how I do this lovely flower pot.

Stencil used. As you can see, I use the middle image.

I then use my 2 of the stylus to emboss the image 
and I use the metal piece to pick up the silver and gold studs.

I use my stylus to go over the back part of the paper so when I flip over, 
I'll have an embossed image on the 2nd page!
I then use some stickles - liquid pearls type to color the popped up parts.
Lastly, I placed some silver studs around it.
I use a black marker to write some greetings and I'm done!

I'm going to buy markers of different colors next time. I hope you enjoyed reading this entry as much as I've enjoyed doing this card. In the meantime, Happy Lunar New Year! 

Dreamy C

My Return

A long break. I've been busy. Busy buying stuff for Scrap Booking, busy getting sick. More of that another day. Chinese New Year approaching very soon. As a matter of fact, it's the Eve today. I've decided to make a card for a very dear cousin of mine. Spread the love yo people!

Customized Envelope
Pineapple - one of the symbols for good greeting for the Lunar New Year
I blanked off the address of course! ^^

First page of the card
I made the card horizontal instead of vertical

2nd page of the card
I blanked off names of course

I'm pretty happy with my 1st attempt to be honest. 

I'll show you the stuff which help me achieve this card in the next post. 

Dreamy C